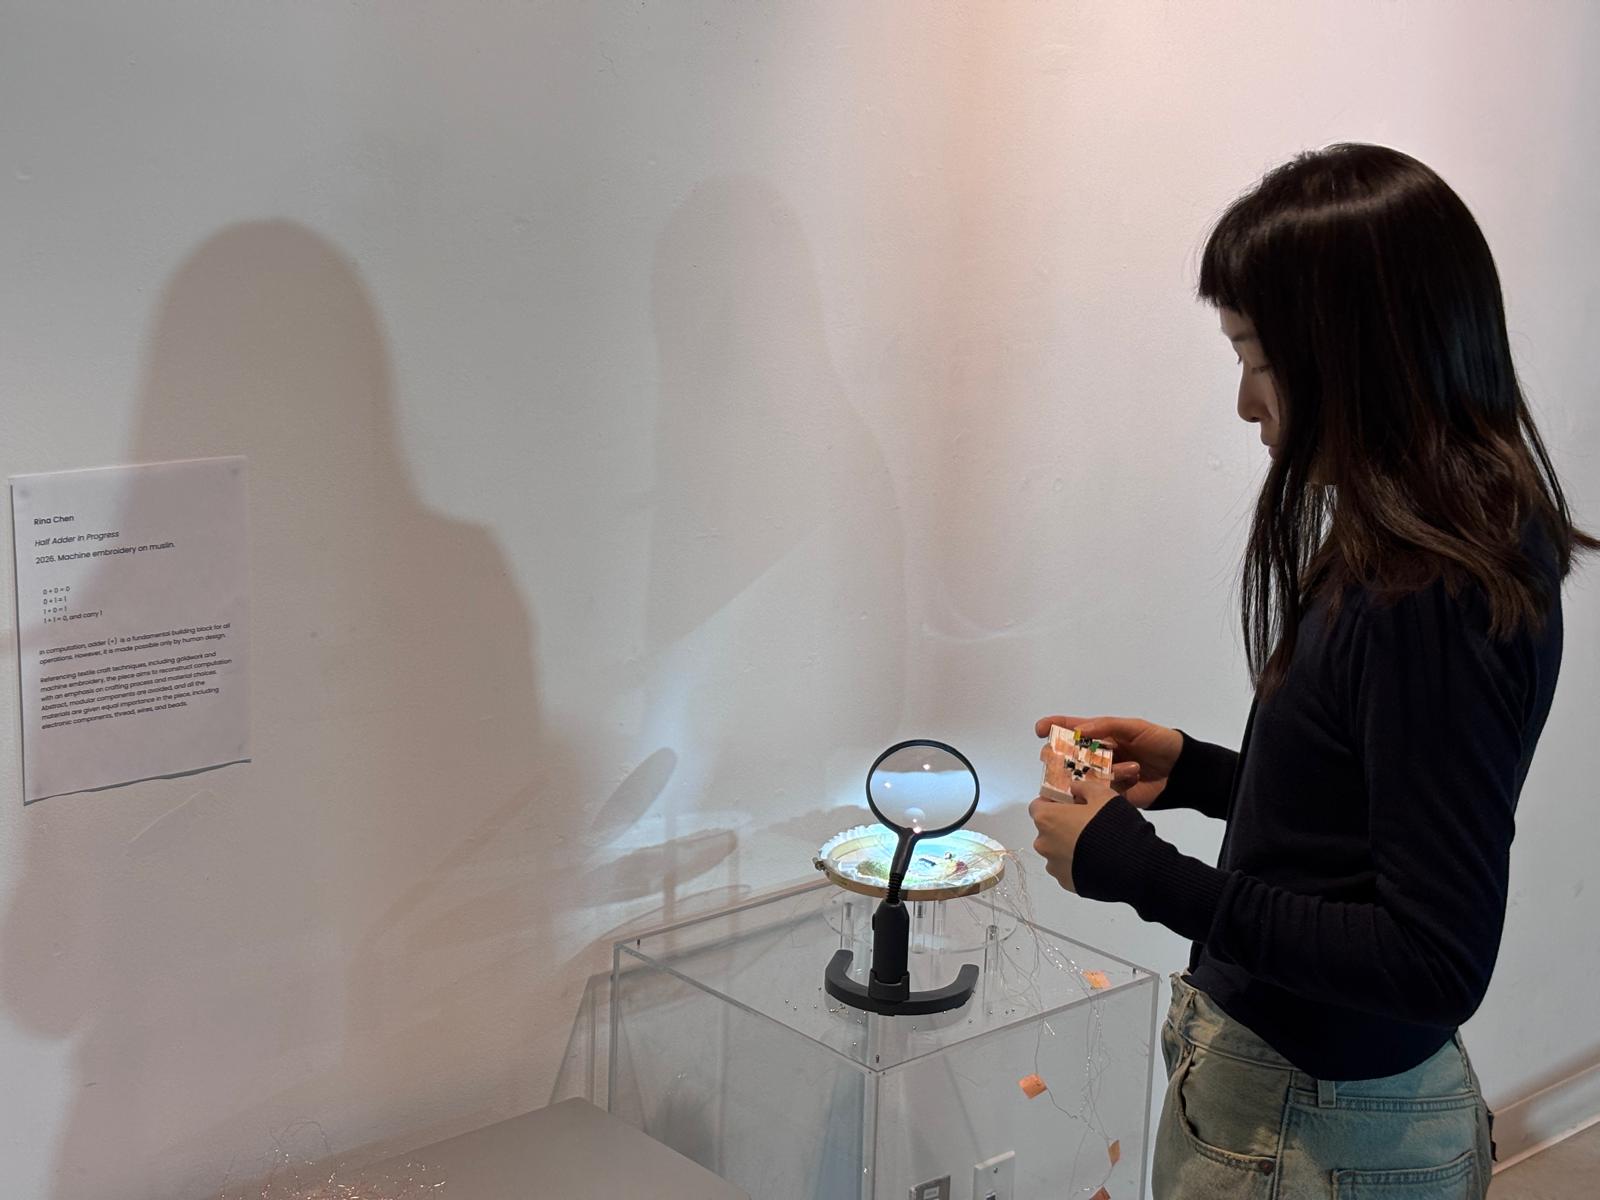
 (Photo by Yuhan)
The project is part of an experimentation I did in Graduate Atelier class at OCADU, in February 2026.
I tried to construct a computational half-adder logic using textile.
Half adder is one of the basic operations of computation, it is designed in a specific way that makes below operation true:
0 + 0 = 0

1 + 0 = 1

0 + 1 = 1

1 + 1 = (1) 0
It is half as it only accounts for carrying over, but not carrying in.
Material
- Sewing thread (magenta, pink, light yellow, gold, copper, depending on design)
- Wire (gauge: 34)
- Hematite (axially magnetised) x 2
- LED light x 2
-
Metal beads (anything that can dissipate current to ground)
- Arduino Uno
- Breadboard prototype using wires, switches, and LED
Flip dot
I referred to this project by KOBAKANT and also this by Irene Posch.
A flip dot is used as a switch/relay mechanism, in place of transistors. The choice is based on visibility and feasibility.
A flip dot consists of a magnetic bead and a coil. Both can be easily attached to a fabric. As electricity (5v) is applied to the coil, it forms a magnetic field that aligns the dot in a specific direction. The direction flips when power and ground are switched.
Relay was widely used before the coming of transistors and semiconductors. Since then, more functionality is enclosed in a submicron scale that can no longer be perceived by a human eye.
Half Adder
A half adder, as mentioned earlier, should make below table truthful:
| A | B | carry | sum |
|---|---|---|---|
| 0 | 0 | 0 | 0 |
| 1 | 0 | 0 | 1 |
| 0 | 1 | 0 | 1 |
| 1 | 1 | 1 | 0 |
For sum, it’s a XOR gate, and for carry, it’s an AND gate. The circuit looks like this:
(Trying out the half-adder logic gates on breadboard)
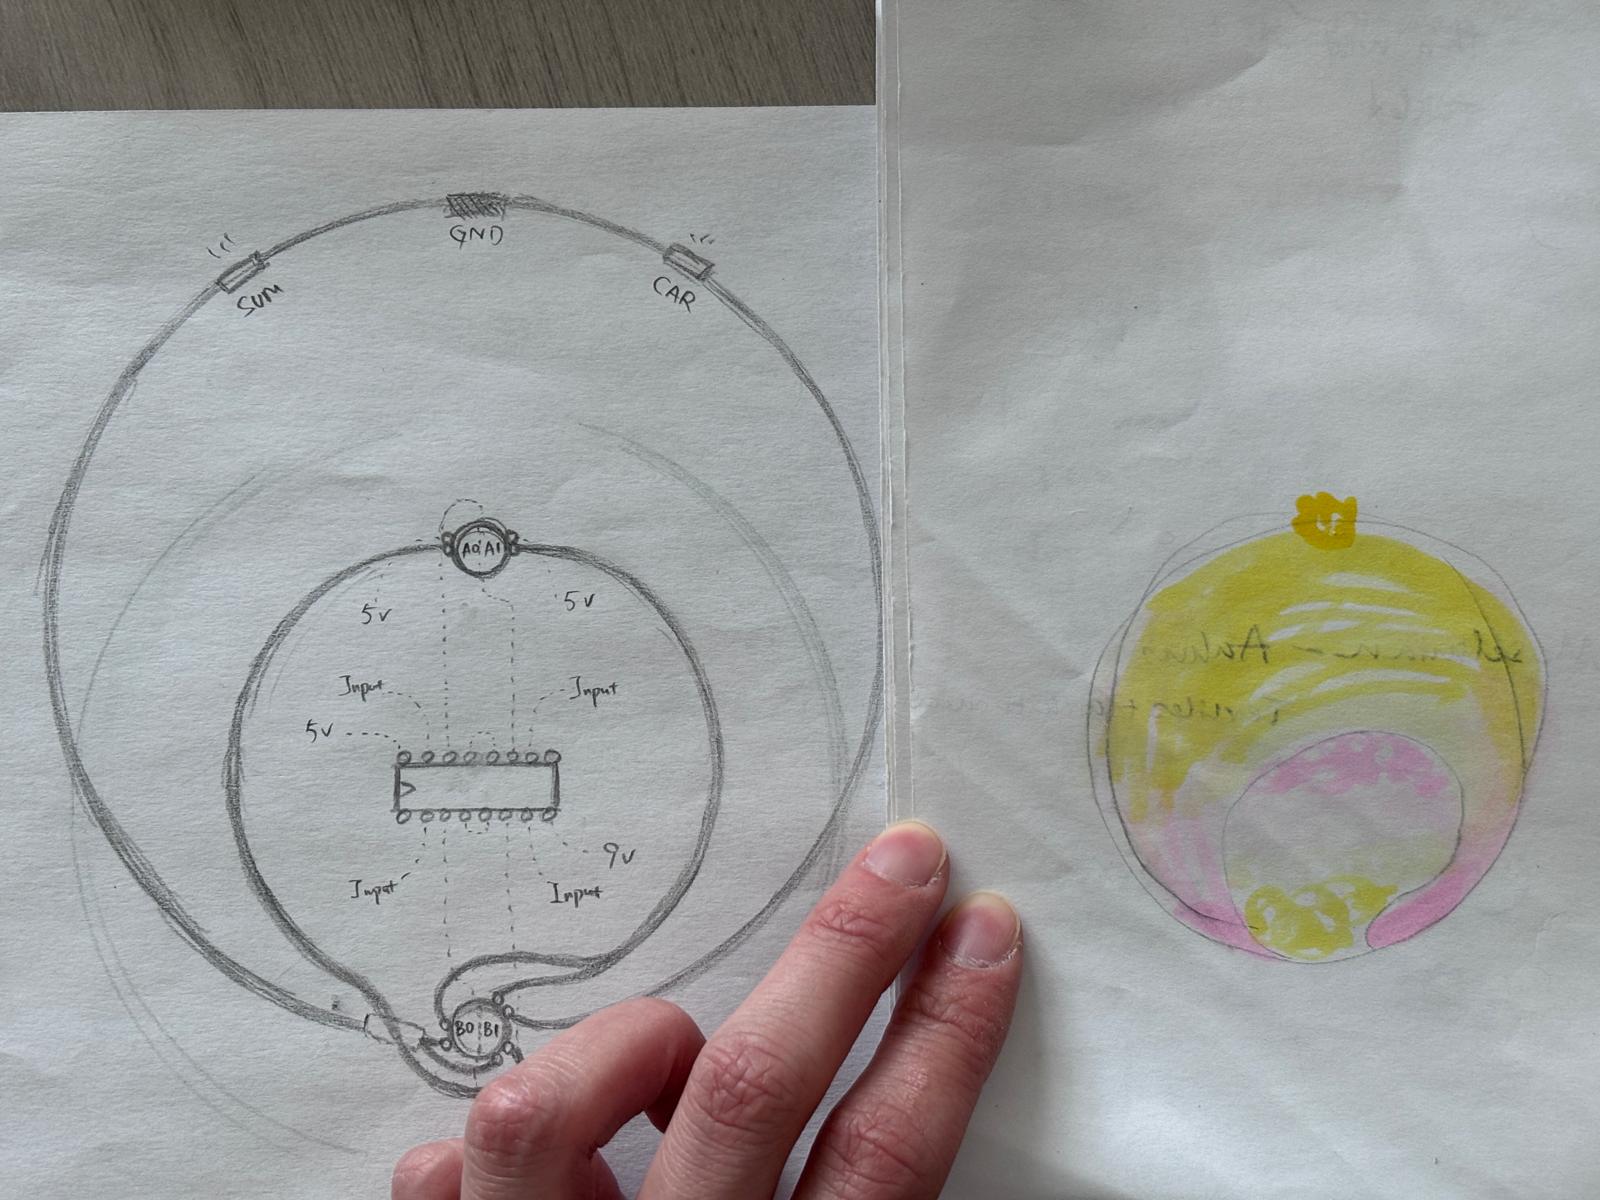
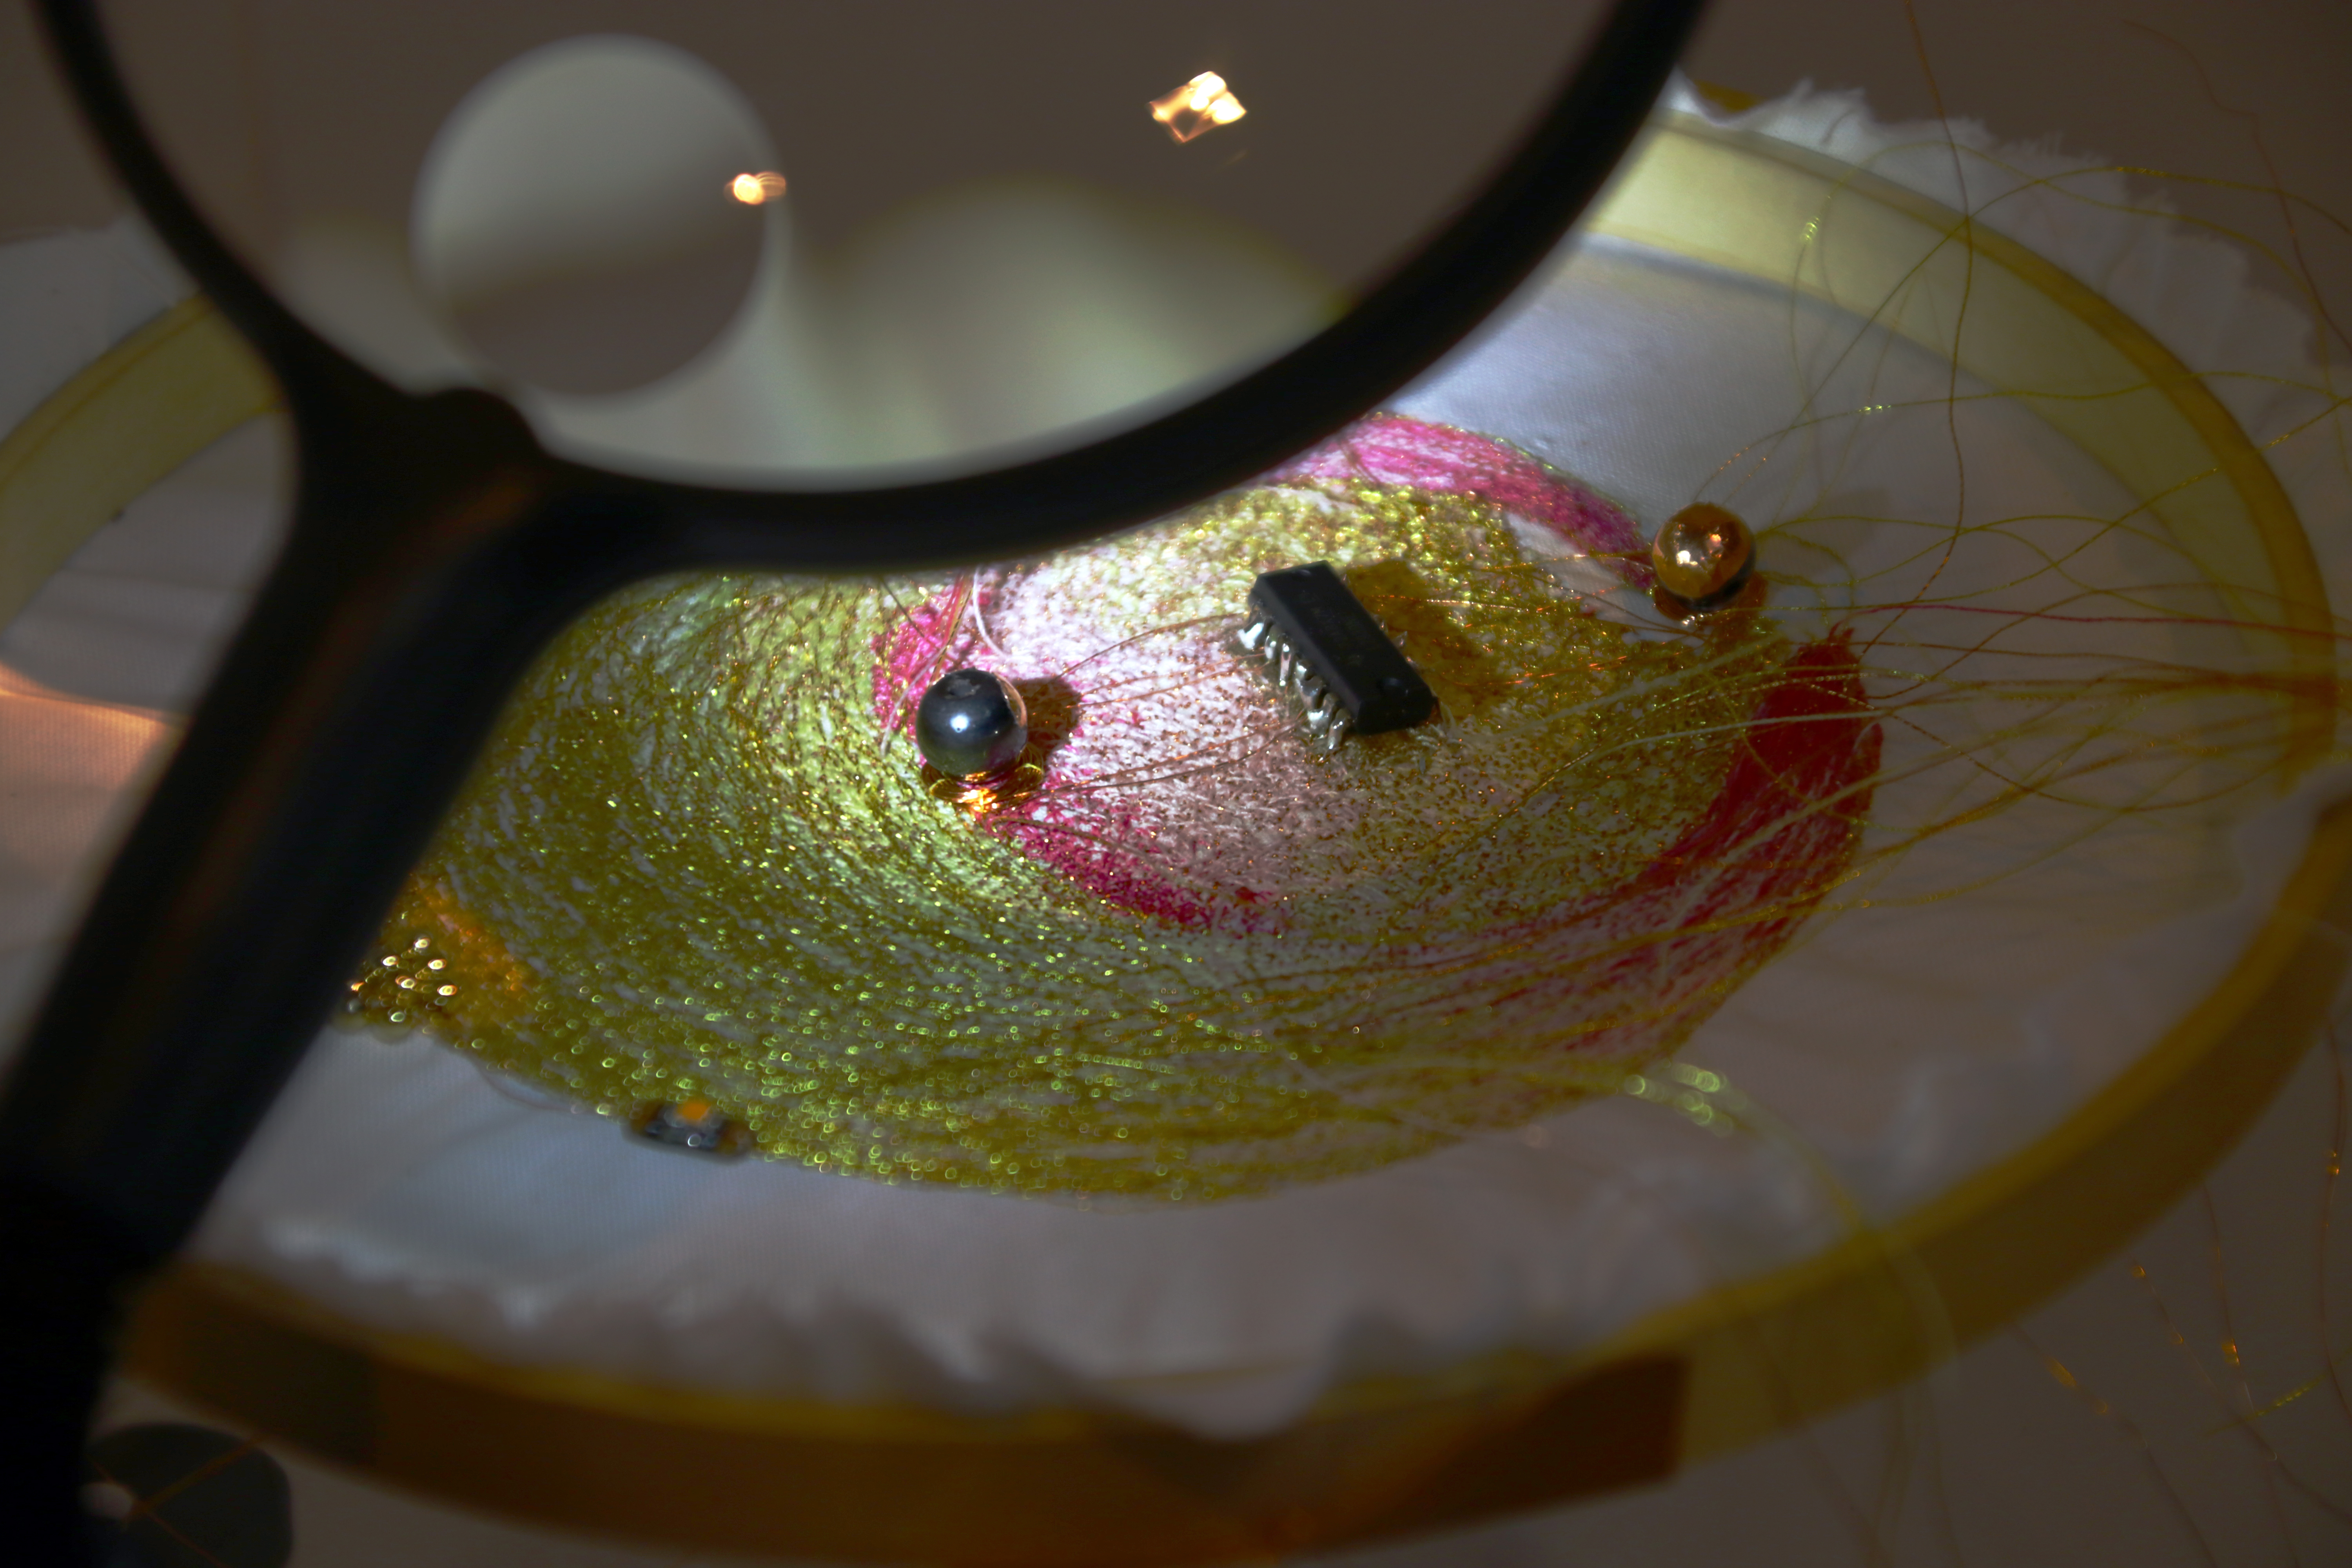
Embroidery Process
The same circuit is designed on a fabric, with switches being replaced by hematite beads and coils.
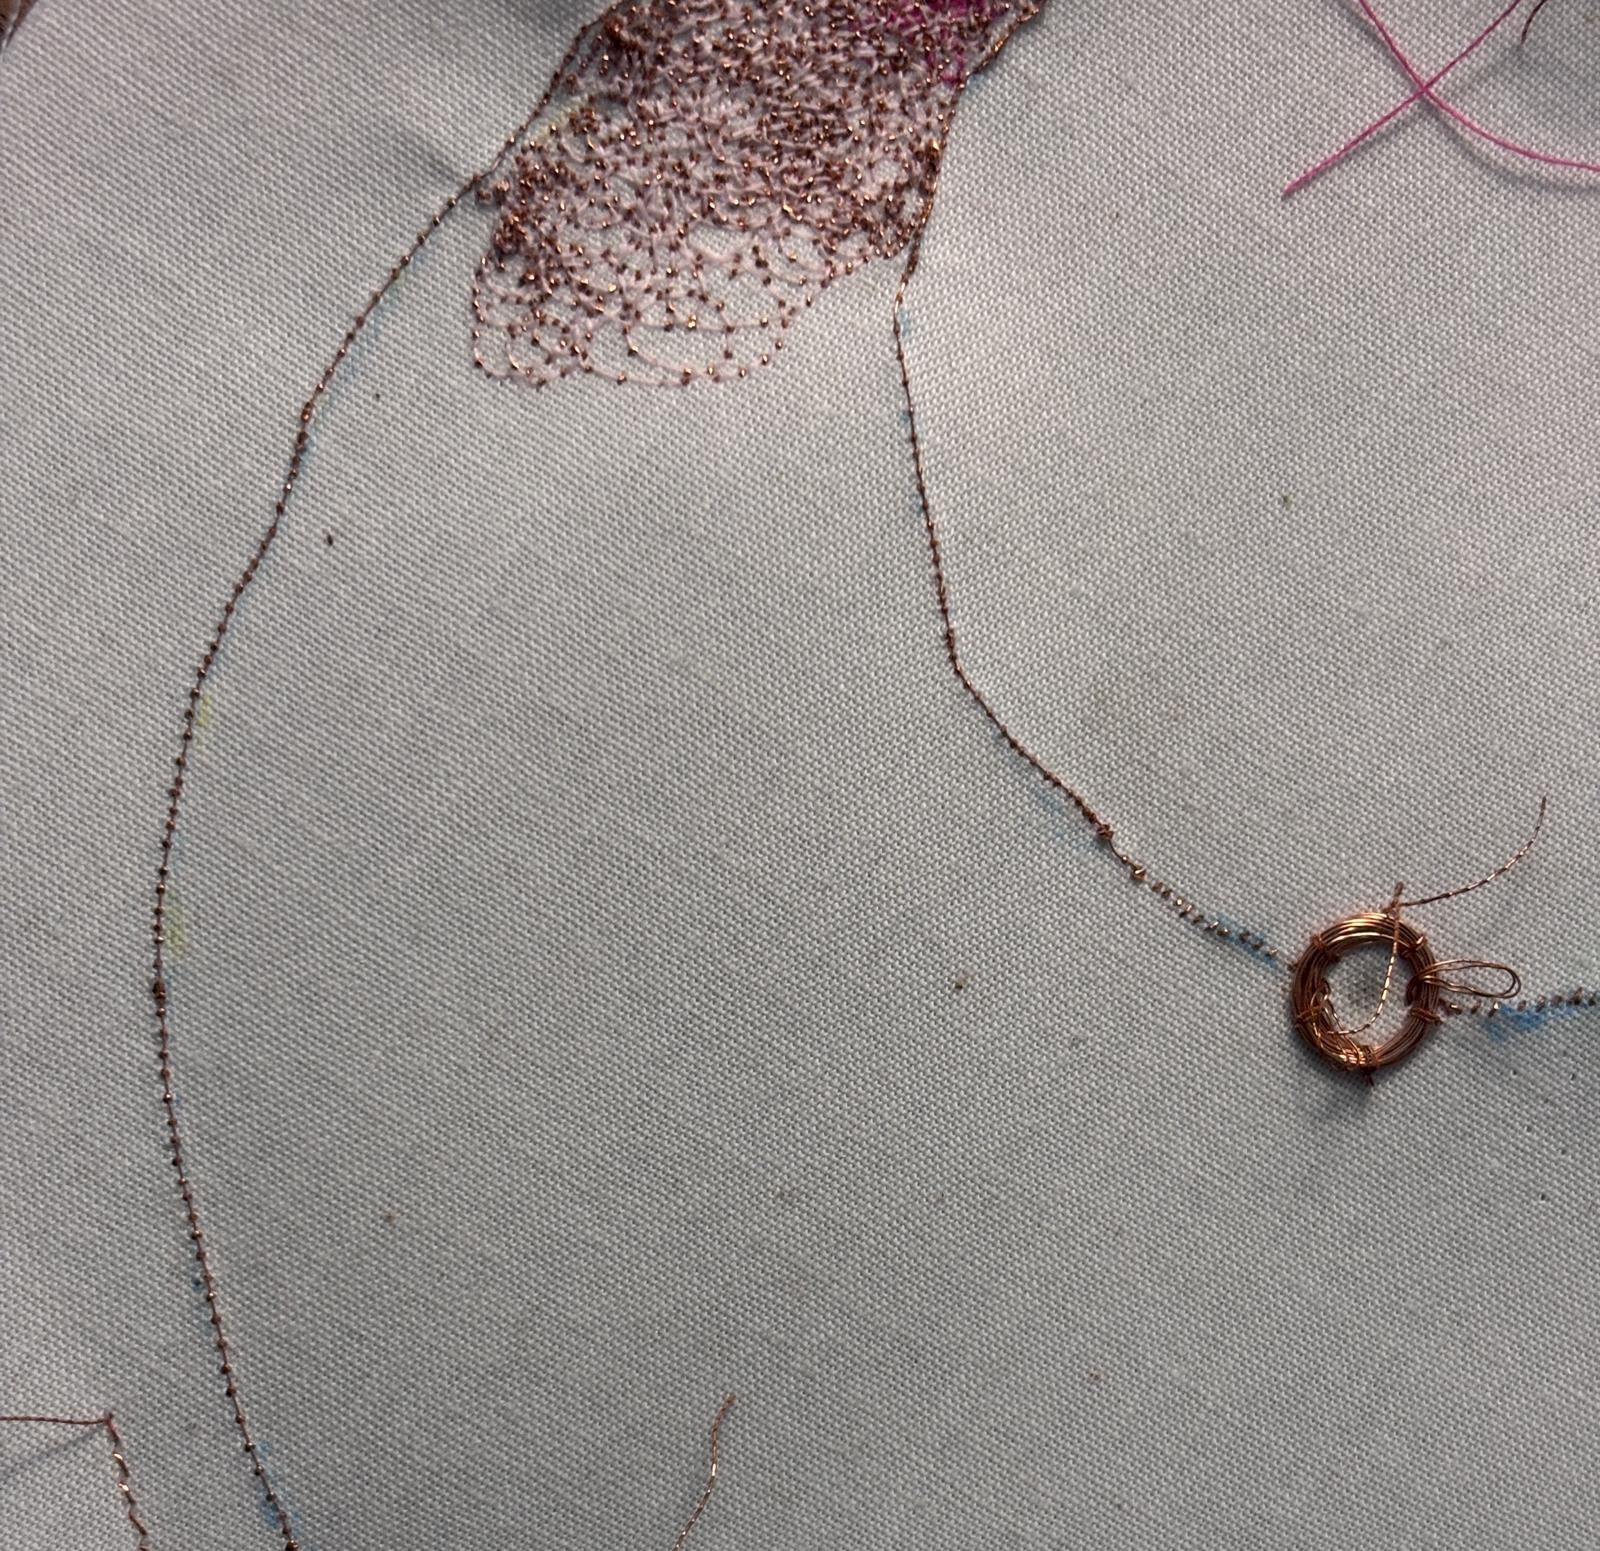
With a vintage sewing machine, I was able to directly sew wires/conductive yarn on to a fabric as bobbin thread. Tension had to be adjusted on the bobbin case as well. But the result looked (somewhat) like the couching technique done in goldwork. Later, the circuit itself was only made by copper wires, since conductive yarn had too much resistance after being “couched”. I also took inspiration from the plunging technique in goldwork to work with the copper wire.

Iterations
In this iteration, I was a bit ambitious and wanted to use Arduino to control the 1 and 0s, so I used H-bridge to be able to reverse polarity. However, the H-bridge (L293D) turned out to be too compact and difficult to prevent shortage on a piece of fabric, that my exploration ended there with insufficient time for debugging. Also, as I think back, the concept is better expressed when none of the black-boxed ICs/transistors are used, instead of all components being given equal importance in the visual display, including IC, flip dots, LEDs and ground.
I decided later to switch back to manual DPDT (Double Pole Double Throw) switch. I might consider using flip dots in place of LEDs in the future iteration.
You could see the dot was able to flip, as there’s current going through, but there’s likely to be shortage somewhere given the alarming vibration sound, and irregular movement of the bead, which made it impossible to determine how to sew the bead on to this piece of fabric.
There is another hurdle which is to allow the flipped dot to connect a circuit depending on the direction it lands on, which is directly controlled by the polarity.
I explored different conductive paint on the bead. In the most basic iteration I just stick a copper tape cutout on the surface. The only concern is its peeling. I also tried Japanese Kintsugi powder, which turned out to be unconducive, since the product had coatings on powder particles for health safety. The one that seemed to work is adding gold foliage using goldwork glue.
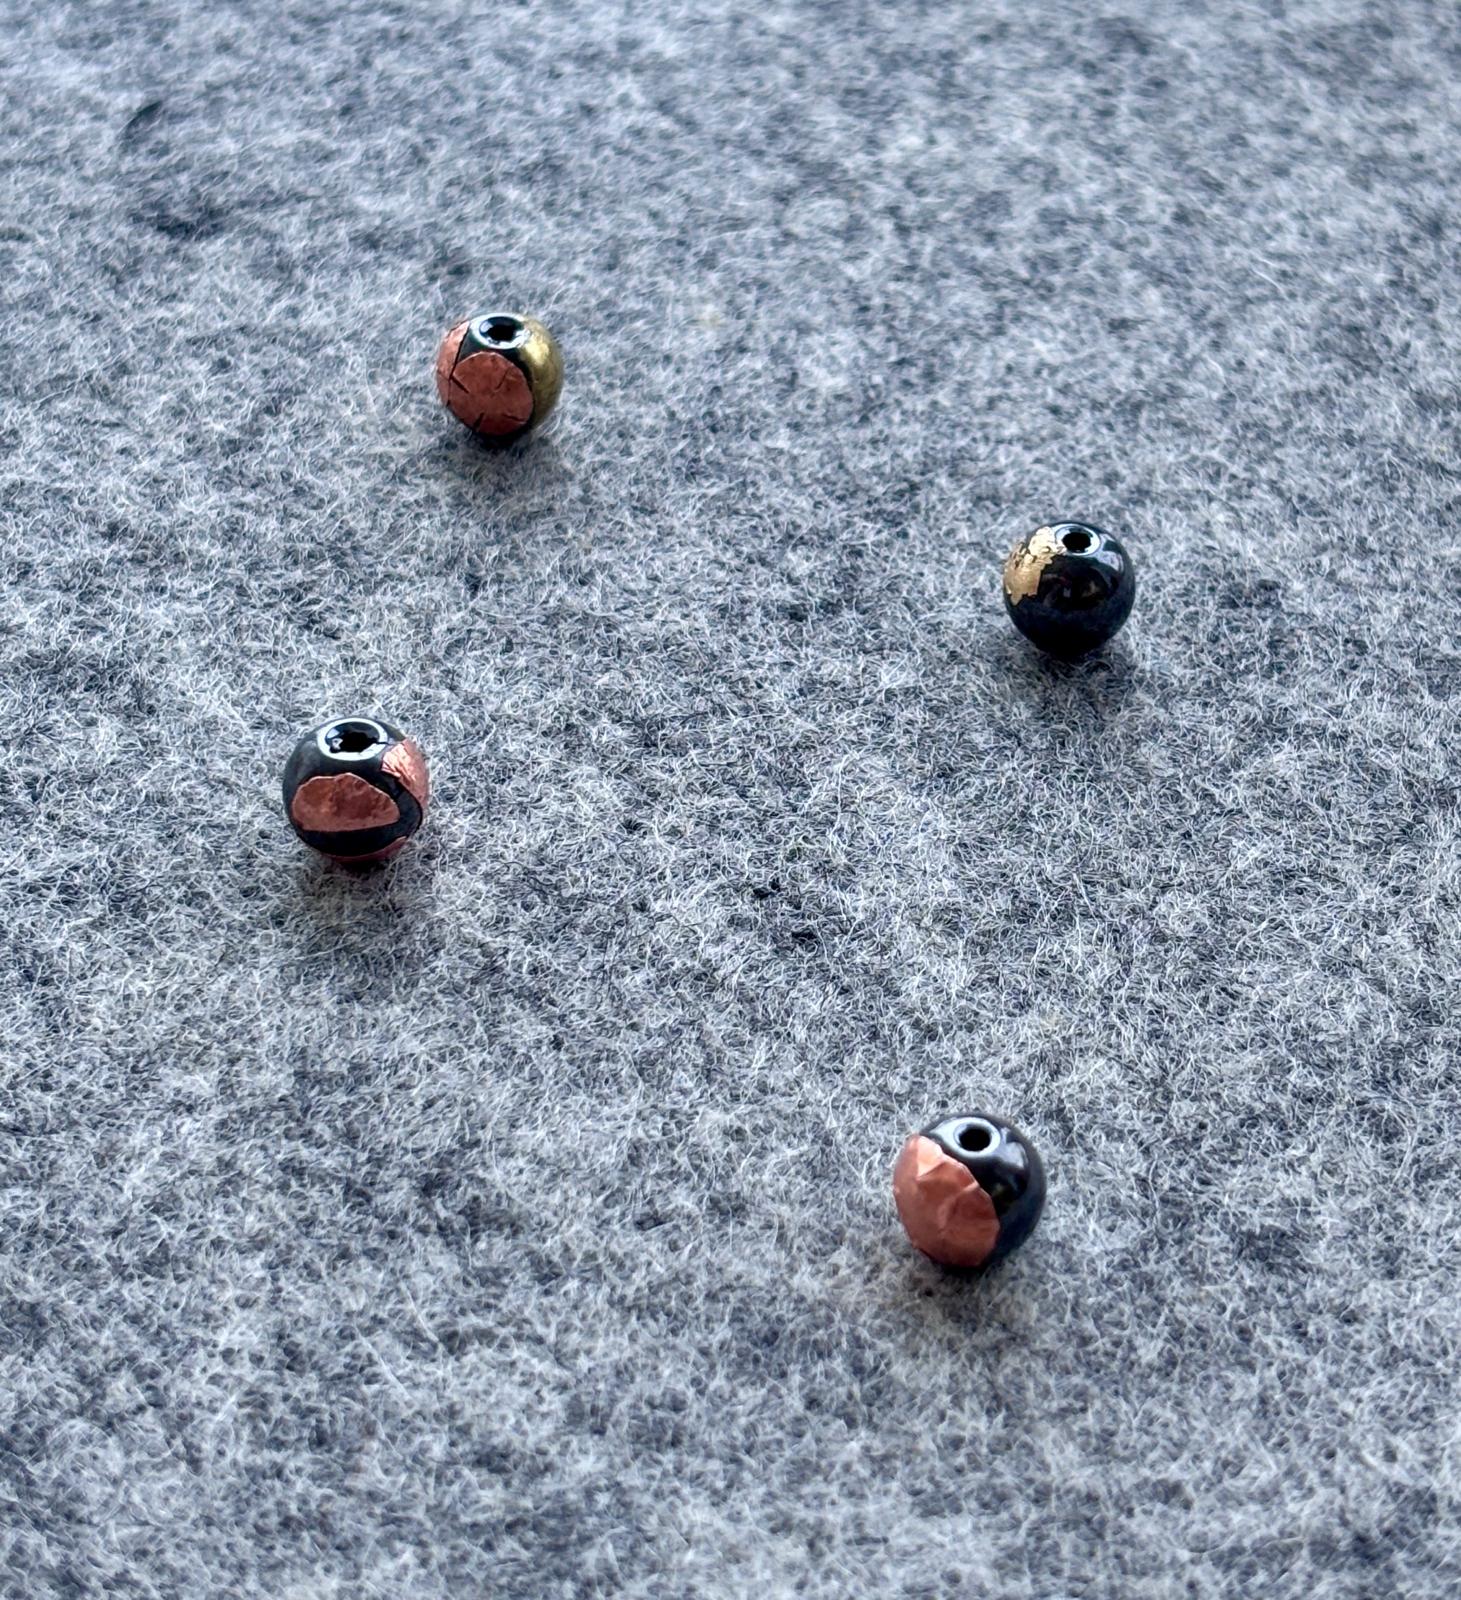
Before the paint was applied, the bead was tested with both polarities to see which area is likely to touch with the base. The placement was fairly consistent when controlled with DPDT. However, the difficulty increases for the flip dot representing B, since it requires 6 separated contact points on a single bead. In future iterations, I’m planning to place the contact point outside of the coil diameter and attach an extended lightweight conductive material onto the bead to be able to reach those points, thereby minimising the risk of shortage.
As a result, the artifact at this stage only consisted of an aesthetic prototype, a breadboard working prototype, and a documentation of my working process.
Exhibition
(During the presentation, video by Yuhan)
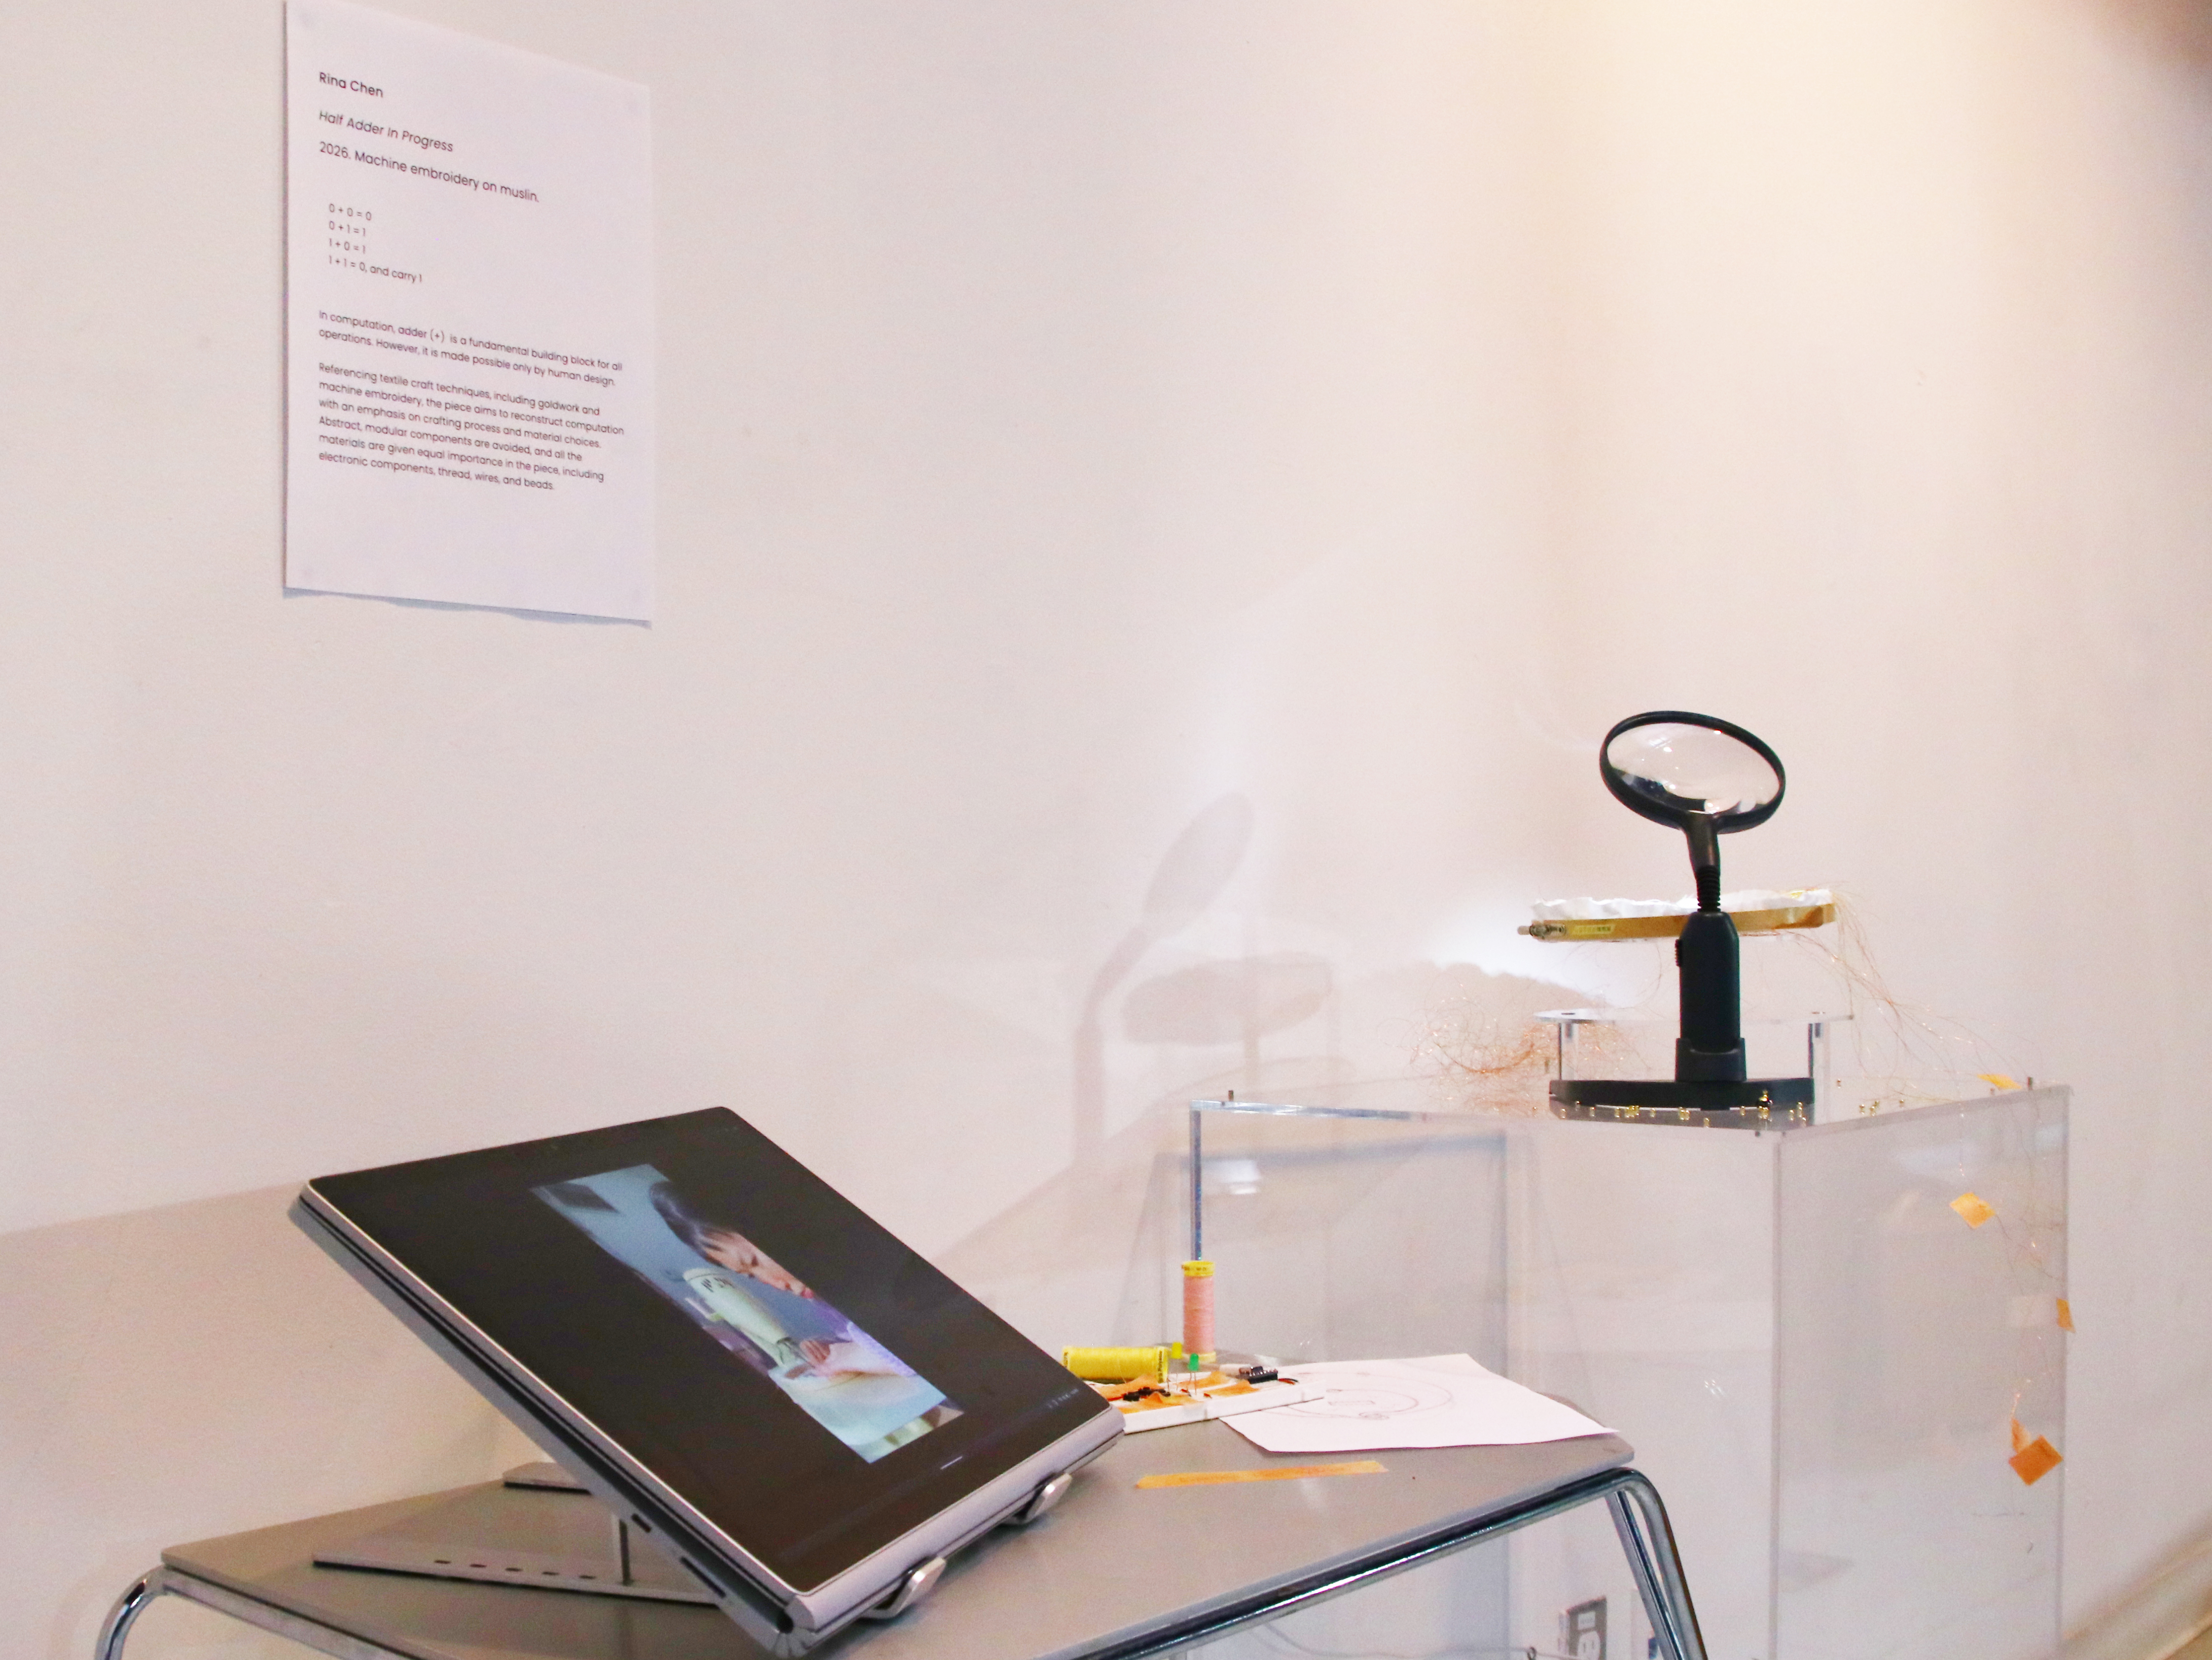
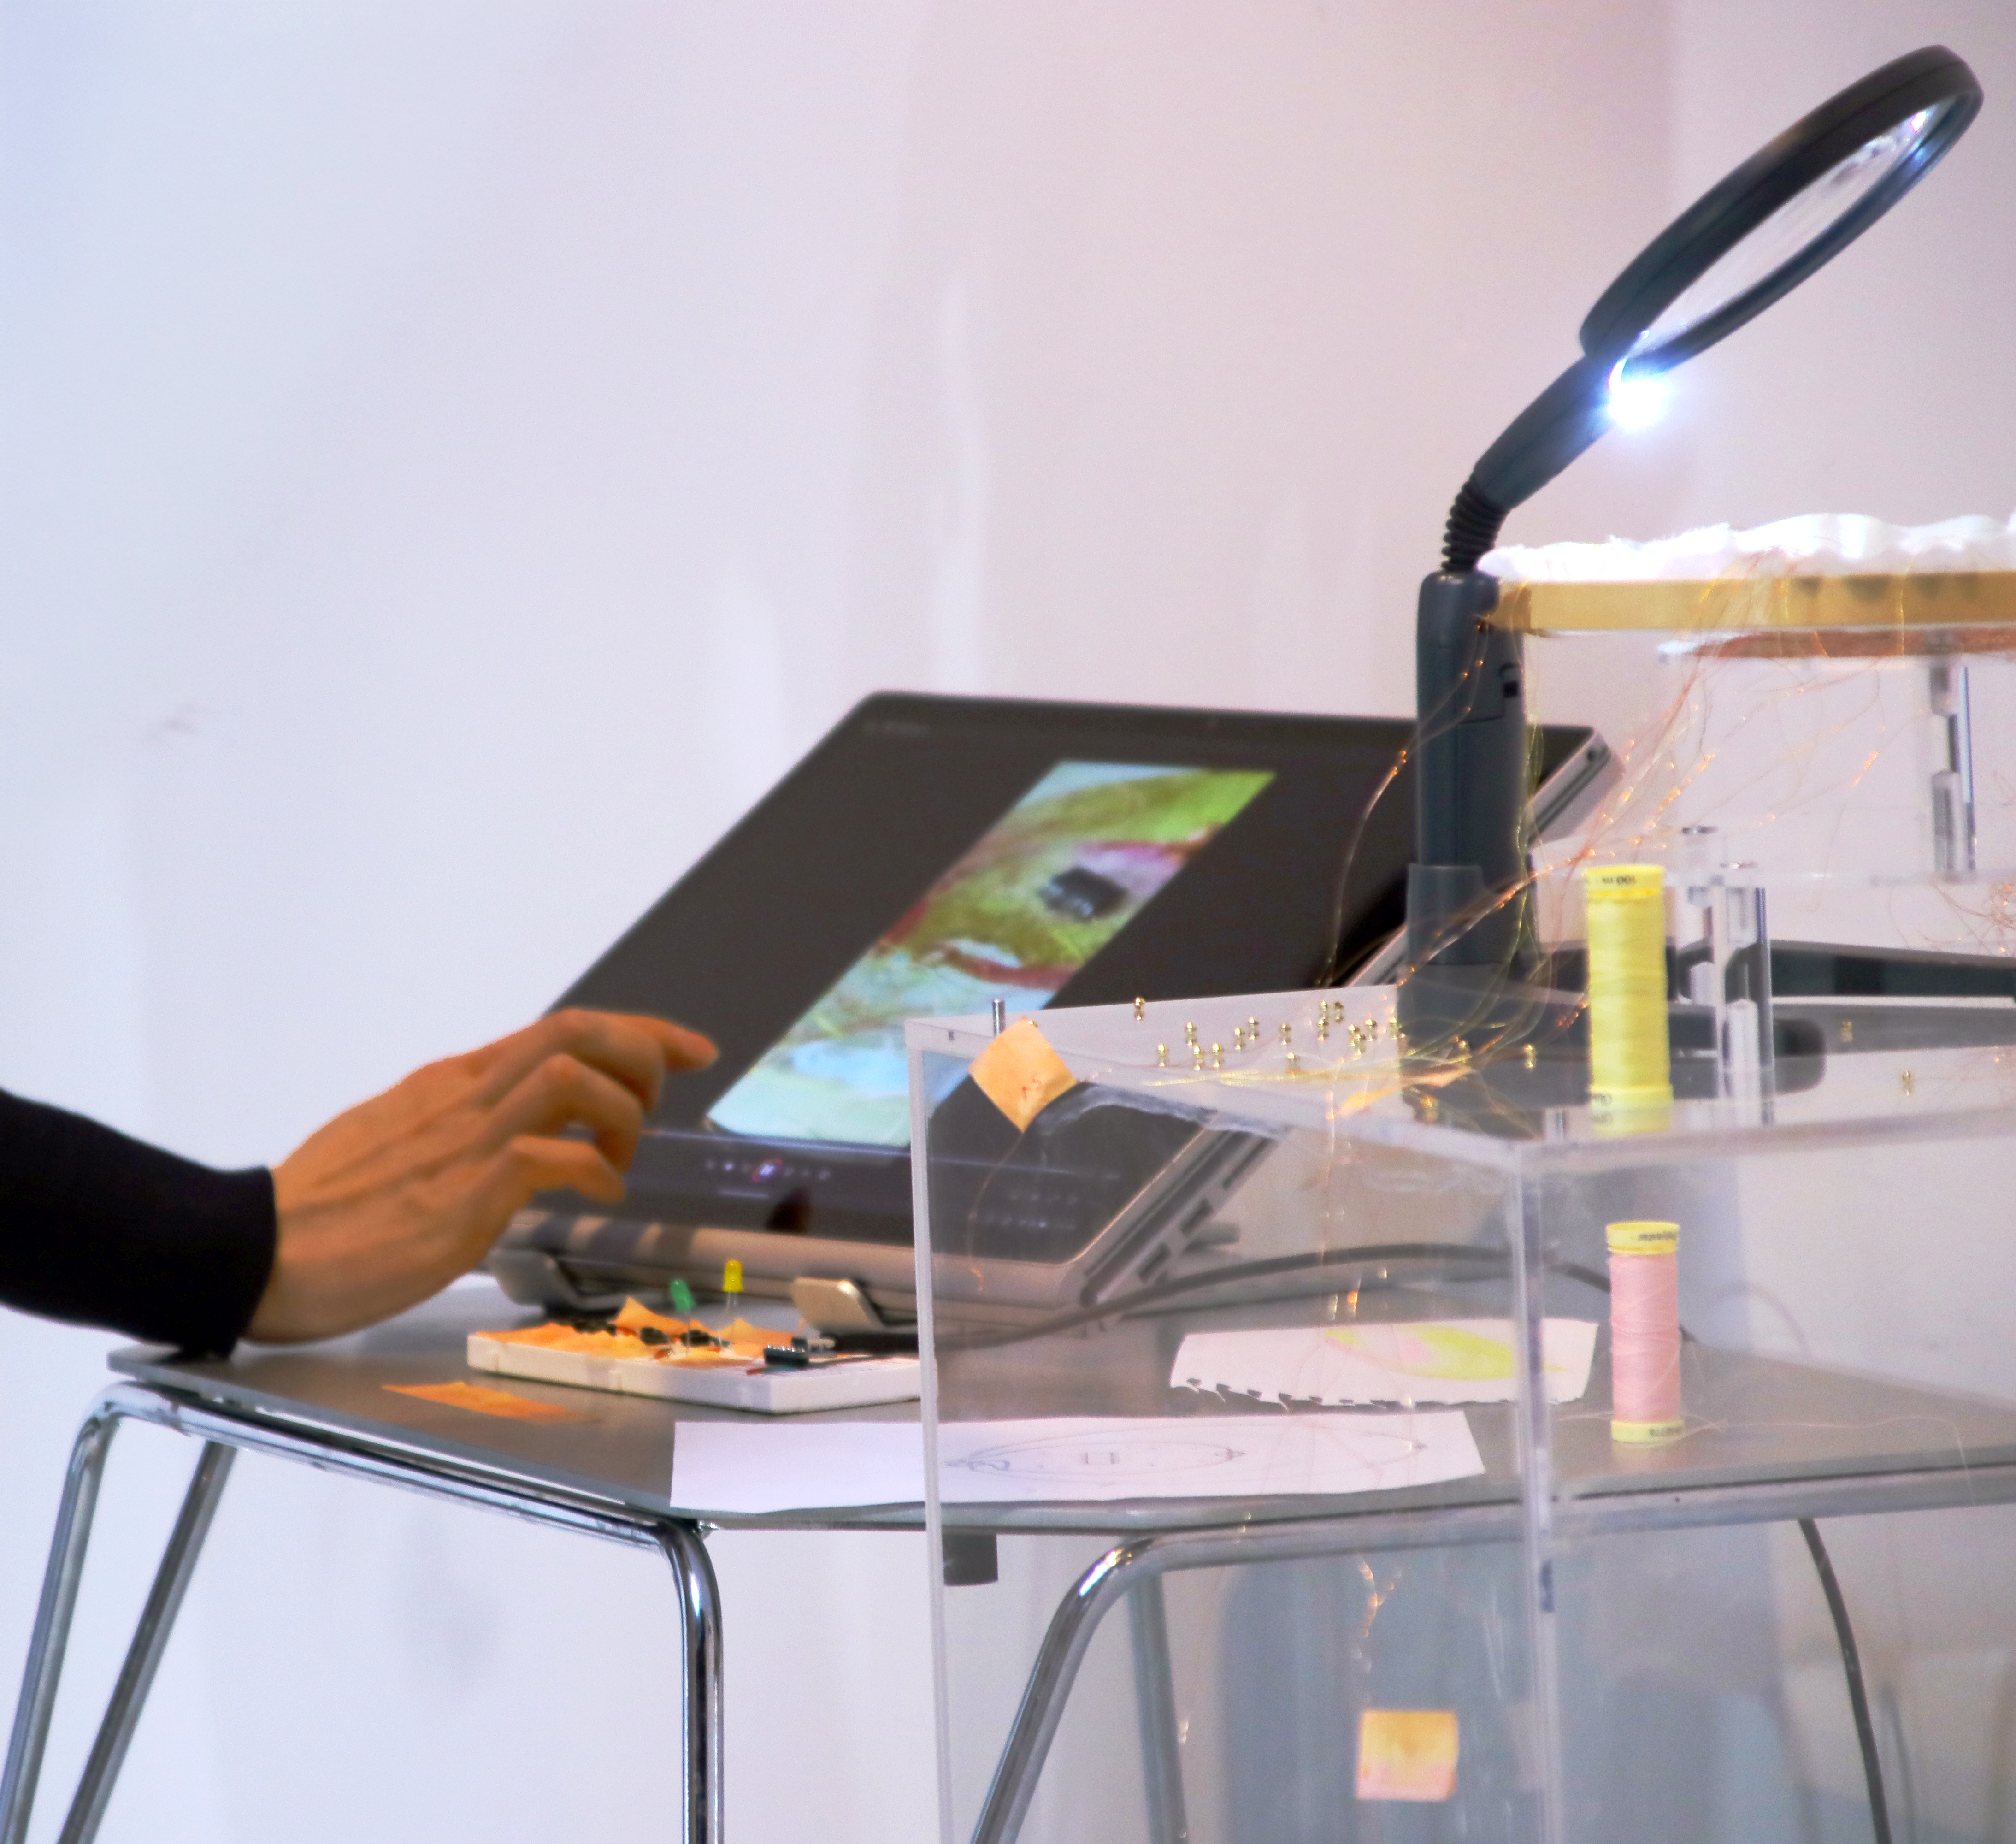
 (Classmates looking at the display, photos by Yuhan)
(During the presentation, videos by Yuhan)
Reflections
To integrate the physical property into the design turns out to be the hardest stress-test of a correct understanding and manipulation of the material. If there is any break, shortage, high resistance, or noise, the operation will not work. It means that things that are not visible to human eyes are nonetheless there, and it dictates the behavior of the artifact.
It is therefore important to make invisible visible in every step possible, if we were to build a computational system by hand, making sure each step is right, and right in a human scale.
So while I aimed to recreate a “thinking fabric” similar to what Babbage has tried in the 19th Century on his “thinking machine”, the value of this exploration lies in how much it made me think of the materials to ensure human-fabricated abstraction holds, rather than the other way round.
Looking forward, I’m interested in looking at physical materiality and digital materiality as something continuous and seamless. Both craft and digital artefacts have its narrative/history of the object.
Special thanks to my classmates and professors of Graduate Atelier appearing in the documentation, in the order of appearance:
Niloofar, Immony, Melanie, Fidelia, Jennifer, Joey, and many others
And thanks to Yuhan I was able to have abundant recordings of my exhibition.
Reference
- Flip dot swatch example by KOBAKANT
- textile relays (prototype) by Irene Posch
-
Flip dot with H-bridge by KOBAKANT
- Goldwork Embroidery: Techniques and Projects by Lizzy Pye.
- RSN Essential Stitch Guide to Goldwork by Helen McCook
More reference summarized in Embroidered Computer.